Homemade Apple Juice
By Sarah Barlow
So many things make me think of fall and cozy weather, but especially apple cider. It’s a flavor and smell that brings up so many memories for me: Trick-or-Treating when I was little, Christmas with Waissell, camping with warm apple cider in the morning. For a long time I thought apple juice wasn’t even something that I could make. My sister-in-law, makes and cans delicious grape juice, and uses a steam juicer. I started looking up what I could use in a steam juicer, and lo and behold! I could make apple juice! I could make my very own Waissell from homemade apple juice! I was talking to my family about this and got a steam juicer for my birthday the beginning of October and was so excited to use it! What a perfect time to try making apple juice!
Well, I definitely learned a lot, about what types of apples to use for apple juice, to how much juice you get. So let me give you some basics and help walk you through your own exploration of making apple juice. This apple juice is simple and delicious and pretty hands free even if it can take a awhile.
First Apples!
There are SO MANY types of apples. Before a year or two ago, I was only familiar with about 8 types of apples. A quick google search shows that there are at least 7,500 types of apples in the world! In the U.S., about 2,500 types of apples are grown! WHAT!?!? I had no idea? So what kinds of apples to use?
Trust me, I don’t know even 100 hundred types of apples let alone a thousand so I’ll be sticking to varieties or flavor profile descriptions more than anything else. If you want to have a good place to start with knowing types of apples, Jen has a wonderful list that gives a few apple varieties.
Base Apple:
The base apple flavor and type you want for the apple juice is one that is sweet with a lot of juice. Honeycrisp is the perfect apple for this. It has a lot of juice and is very sweet. The advice I was given, was that the ratio of Honeycrisp to other apples should be 2:1. I didn’t follow that ratio exactly but it gives you an idea of where to start.

Honeycrisp Apples
Other Apples:
To have the true “apple” flavor, the more varieties of apples you use the more it will have the apple flavor. This should be a mix of sweet and tart apples. Next time I make apple juice, I’ll be trying a wider variety of apples but for this batch I used 3 different types: 2 sweet, and 1 tart.
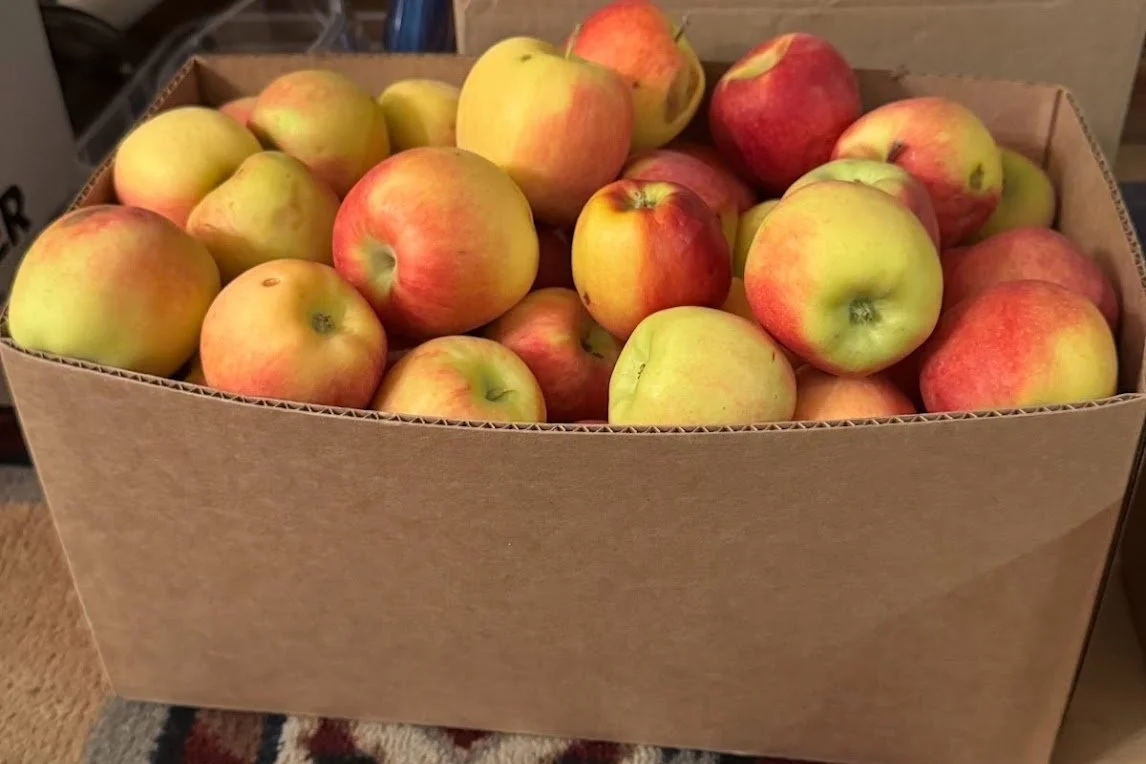
Ambrosia Apples
With the steam juicer I have, there is a colander up top that holds all the apple, so if you really want you don’t need to core the apple or take out the stem or anything, I personally prefer coring the apple because I don’t want the seeds. What I should probably do is core the apple and take out the seeds and then put the core back in. But I was a little too lazy to do that. So instead I used an apple corer.

Apple Peeler & Corer | Steam Juicer
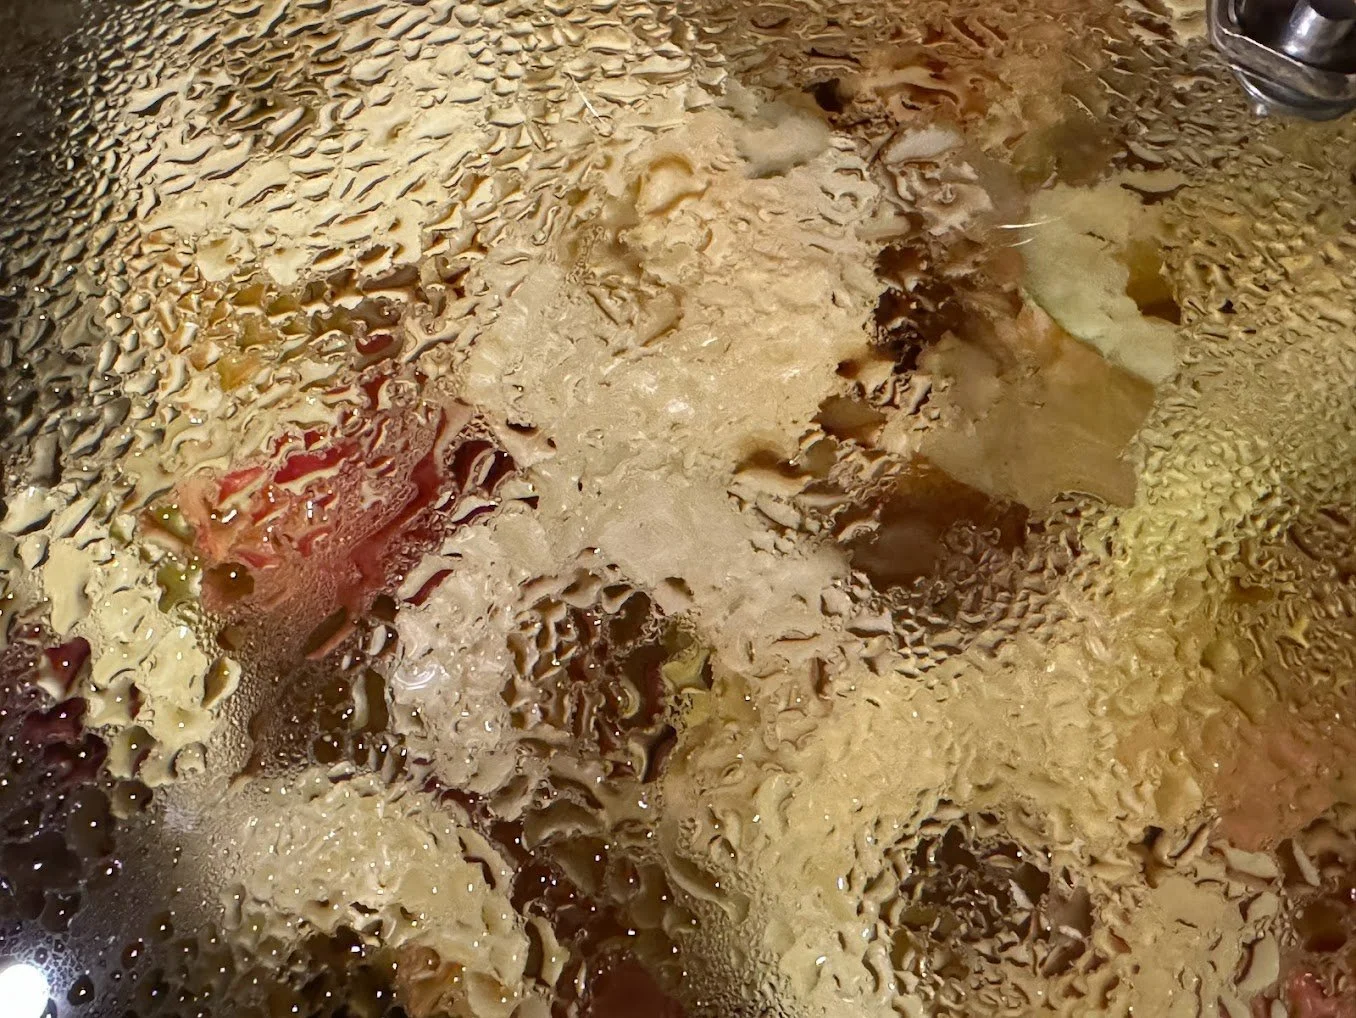
Let’s talk steam juicers generally. I’ve never made apple juice without a steam juicer. But I found out after making the apple juice that apparently a steam juicer is meant to be for concentrating juice. The apple juice came out pretty watery for each of the apples, but especially for the sweet apples, so I had to concentrate them separately after I got the juice.
Making the Juice
Before prepping the apples, fill the bottom stock pot of your steam juicer with water. I did it up to just below where the steamer/blancher (the middle pot) rests inside the stock pot. Once your apples are ready how you want them (for me, cored), place them in the colander on the top of your steam juicer. Cover them with the lid and turn on your stove to high or medium high. Make sure the hose is attached and in a cup or glass jar. This is because even though the clamp is on, some juice will still leak out and you will want to capture it. I found it easiest to put a chair next to the stove with a cup on it and the hose resting inside.
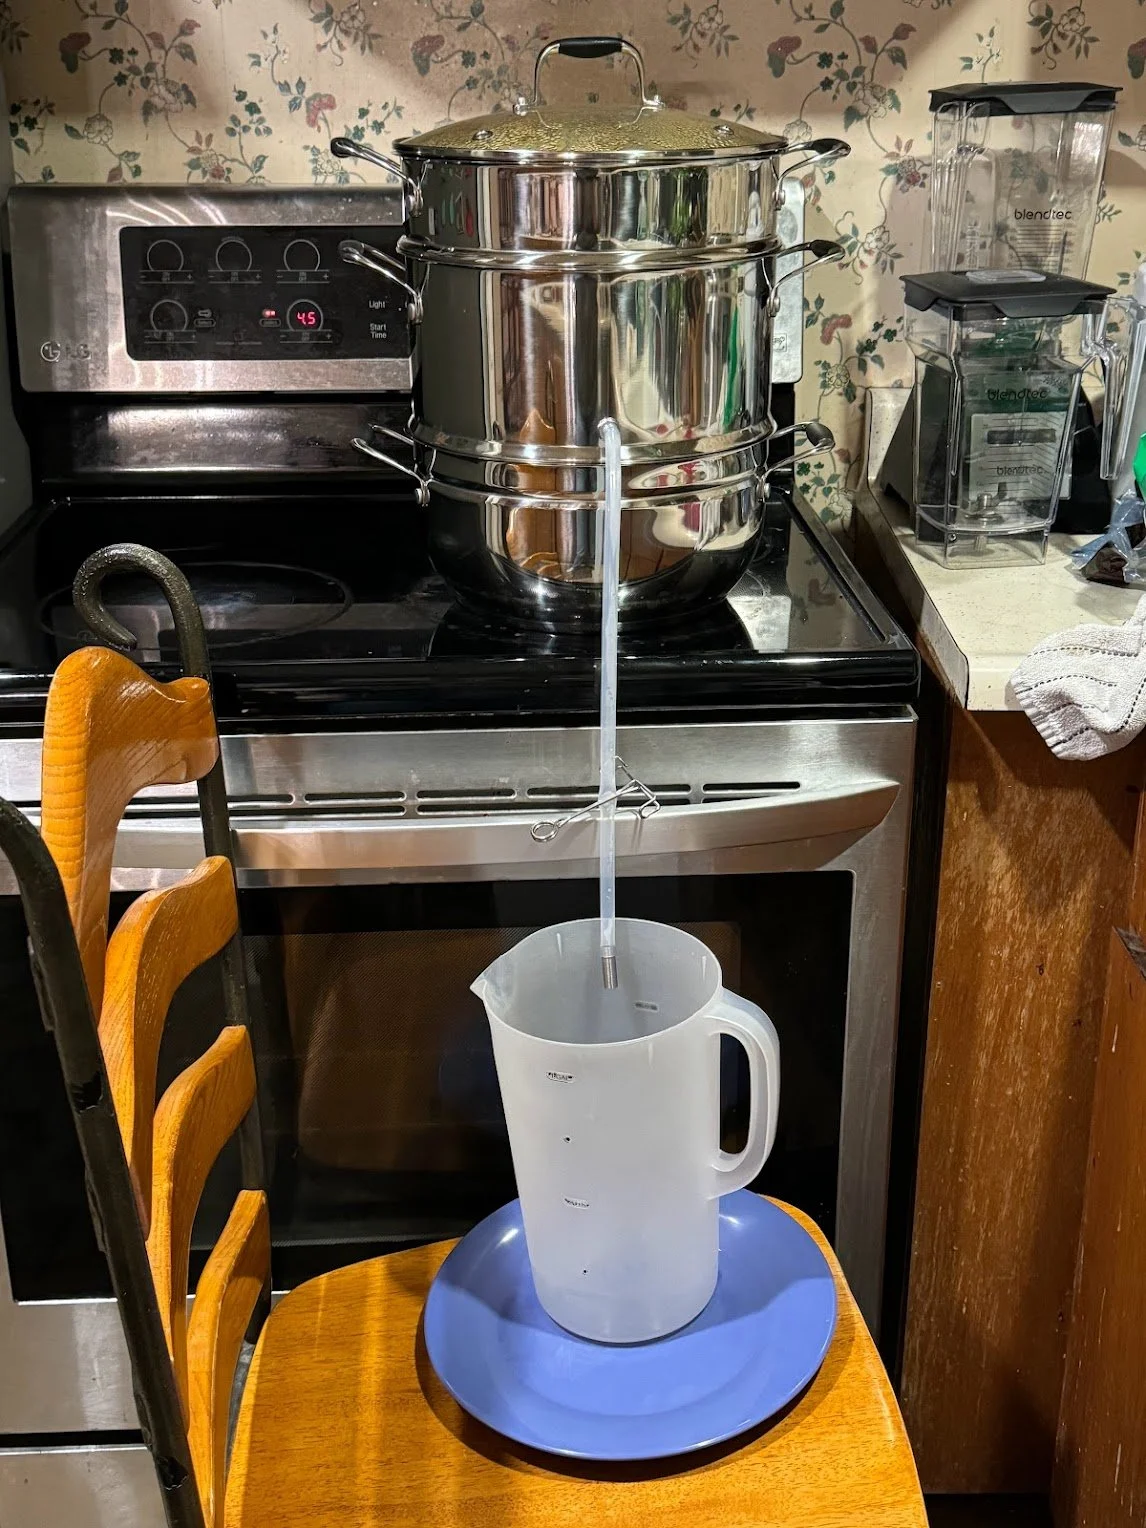
Steam juicer with hose in container to catch juice
I steamed about 2 bushels of apples: 1 bushel of honeycrisp, ½ bushel of ambrosia, and 1/s bushel of a tart apple (I can’t remember the name, I just grabbed the most tart apple I could find at the orchard). It made about 2.5 to 3 gallons before concentrating.
Note: I kept each of the apples separate when juicing and then stored the juice of each separate. This was because I wanted to be able to measure out how much I wanted of each and to have the ratio right. By the end, though, it wasn’t worth it because I ended up mixing them all together.
Once concentrated, I ended up with almost exactly a gallon of apple juice.
Concentrating the Juice
To concentrate the juice, I ended up mixing all of the juices together in a large stockpot. I had too much juice so I boiled down what I could fit in the stockpot first and then added the rest. Boil the apple juice down at a medium low temperature, mine stayed between 3.5-4. Just note, that at this temperature it does take at least an hour to two hours to boil. You could boil the apple juice at a higher temperature but you would want to make sure you are watching it more closely and I wouldn’t fill my stockpot up as high to make sure nothing boils over.
Once your juice has been on the stove for about an hour, taste test the apple juice. I then taste tested it again 30 minutes after and then in 15 minute increments after that.

Homemade Apple Juice
Then enjoy! I put mine in the fridge in another store bought apple cider container. I wanted to make Waissell but didn’t get to it before all the apple juice was gone.
Tips & Tricks:
Honeycrisp works as a great base, though when juicing with a steam juicer it comes out watery so make sure you concentrate it.
Make sure you add in at least one kind of tart apple! The tart apple changed the flavor and made it taste way better. Next time, I’ll be adding a wider variety of apples to my apple juice but I will for sure have at least one really tart apple (probably a couple).