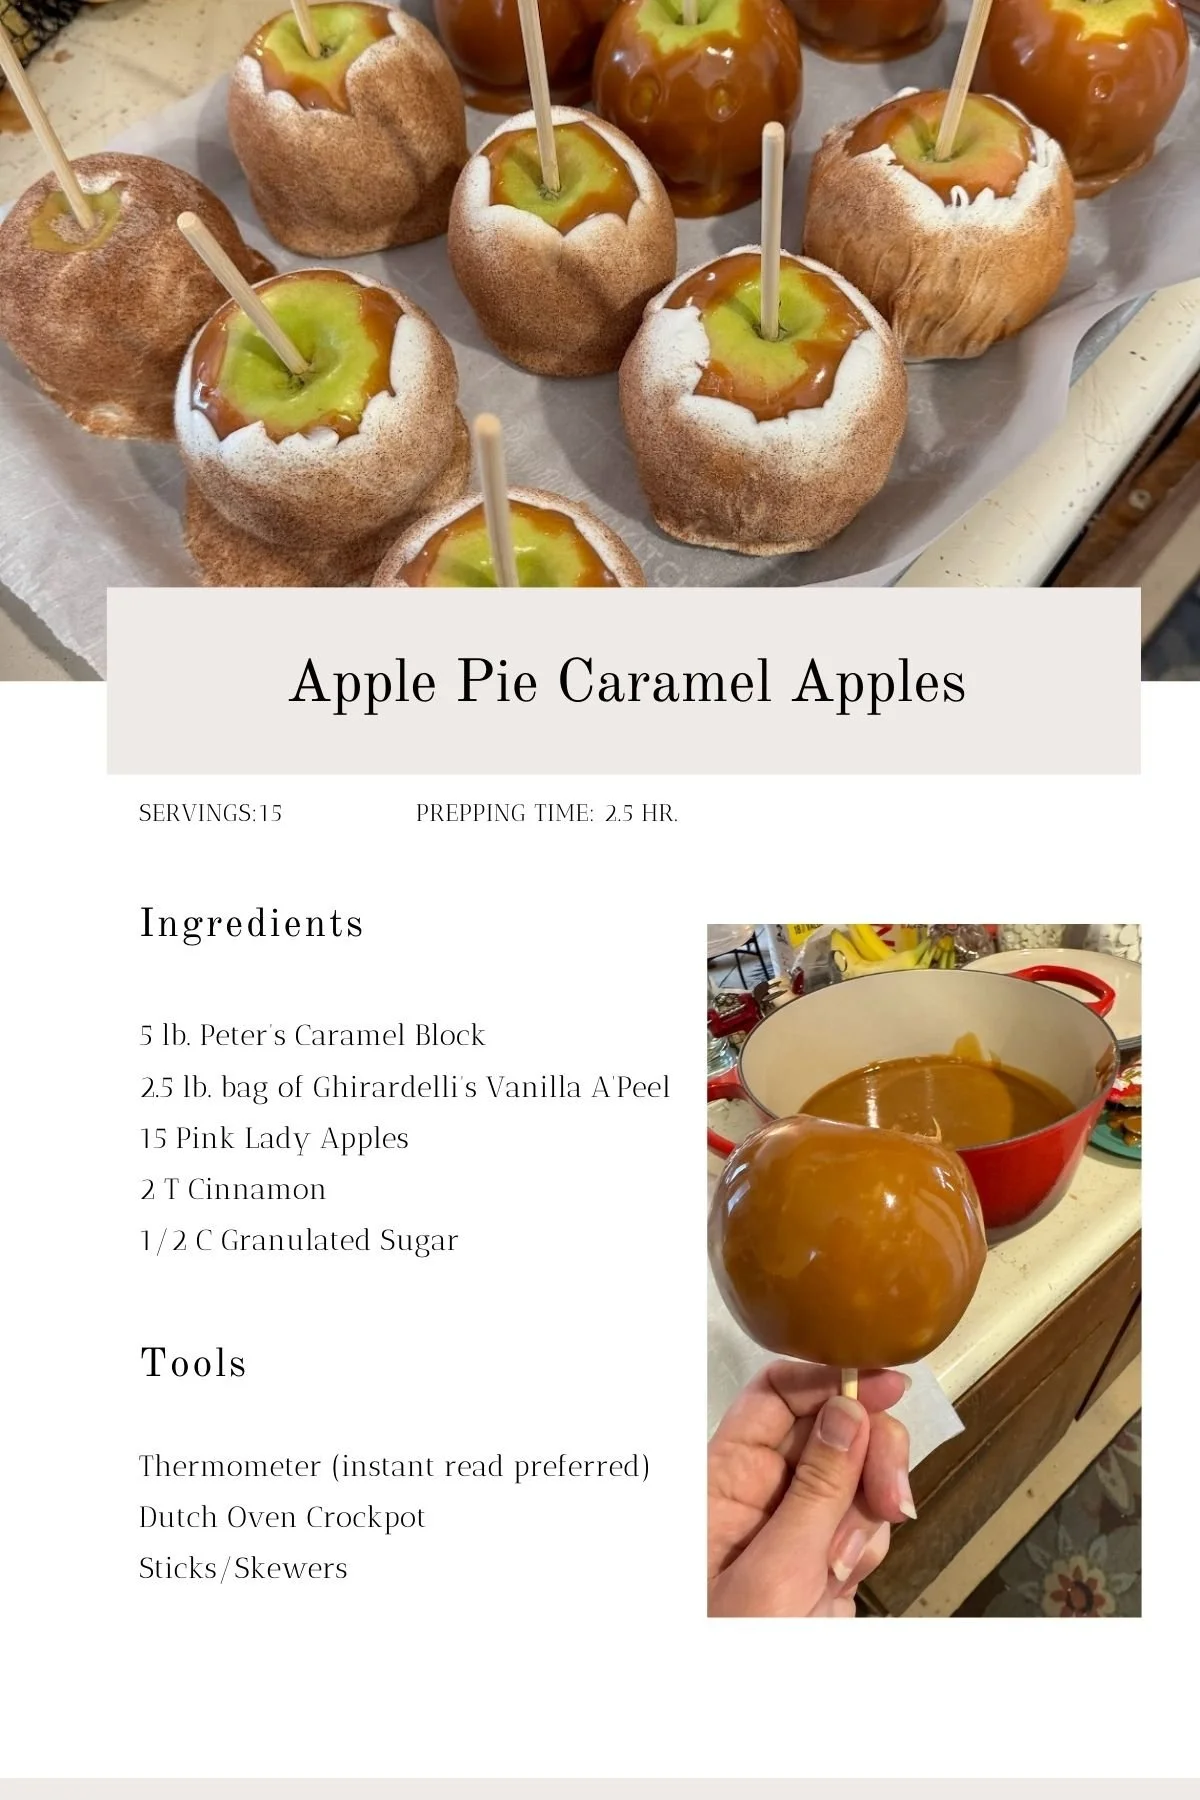
Apple Pie Caramel Apples
Caramel Apples covered in White Chocolate and Cinnamon Sugar? It can’t get much better than that
In this recipe, you’ll learn how to do it the easier, more hands off method.
By Sarah Barlow
I love homemade caramel apples. Especially the apple pie caramel apples. If you’re not sure what an apple pie caramel apple is, it’s a delicious apple covered in caramel, white chocolate, and cinnamon sugar. To me, they’re the best caramel apples.
Caramel covered goodies remind me of Christmas and the time leading up to Christmas (which for me starts in November). My family started years ago making chocolate, caramel covered pretzels covered in everything from crushed candy canes to crushed heath bars to drizzled layers of chocolate. The family “Barletzels”! (put a ™ symbol but the one that is allowed) We have fun laughing and spending time together but we also take seriously what flavors we have and combinations.
We have even made them around Thanksgiving or in the Fall as an activity for gatherings. I’ve always wanted to add caramel apples to the mix but the pretzels don’t always turn out quite right and we are constantly perfecting them. Caramel apples seemed too difficult a treat to tackle.
This fall I made a goal to try caramel apples, even if they turned out terribly. I found (after a lot of research), that they aren’t difficult, they just take a little bit of time and focus. So please! Even if you’re intimidated by the idea, please try these! I’ve put down tips and tricks to help with the process. And even if you have some failures (like I did) it’s all in the name of taste testing to make sure they are good enough to give out.
So let’s dive in and start with the base.
Apples
Which ones to use? How to prepare them? What direction to put the stick in? We’ll answer all these questions and more.
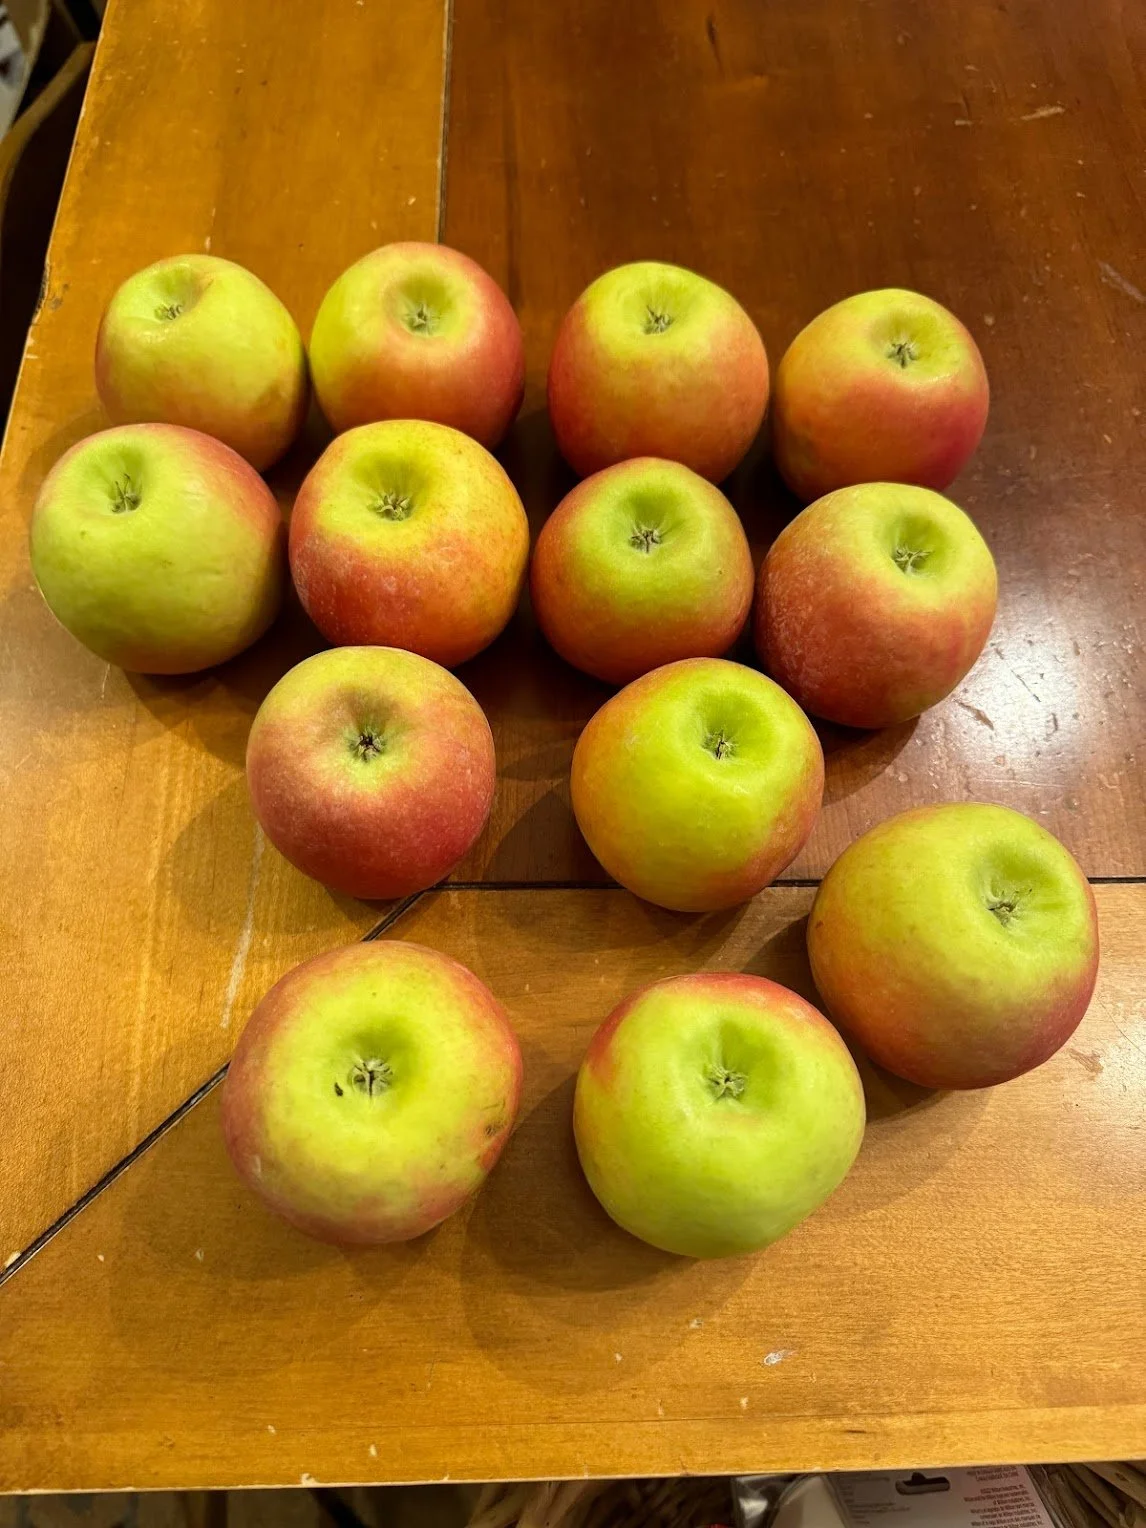
Typically, people use Granny Smith apples for caramel apples. Lots of people like a tart apple to counteract the sweet caramel and chocolate. I wanted a tart apple but one a little sweeter. While buying apples at an apple orchard, they recommended I use Pink Lady apples instead and trust me when I say they are the perfect balance of tart and sweet!
Caramel needs to be able to stick to the apples. Store-bought apples will typically have a layer of wax on them that you need to remove before coating with caramel. To remove the wax, wash the apples in soap and water and then dry thoroughly. I used the same method for my orchard-fresh apples just to make sure they were completely clean and prepped.
Once the apples are clean, remove all the stems and place in the fridge to get cold. I had mine in the fridge for about an hour which worked nicely, but I think having them in the fridge for closer to 2 hours would work better. It helps the caramel harden and stick to the apple.
After refrigerating the apples, and right before coating them in caramel, I inserted the sticks. You want to use a thick stick that won’t slip out of the apple when coating them. I recommend the kind I used that I got from Gygi’s (link: https://www.gygi.com/Caramel-Apple-Sticks-Skewers)
When inserting the stick, you can put it in the top or bottom of the apple. If you want a flatter, sturdier apple, flip it over and insert the stick in the bottom of the apple. The top of the apple has a falter base and will make your stick and apple straighter. I chose to have a flatter, sturdier standing apples so I placed the stick in the bottom of the apple.
Tip: The sticks are hard to push in on their own. Push the stick in enough so that it’s stuck, then turn the apple upside down and hammer the stick against the counter to get it in the apple further. Make sure you don’t push the stick through the apple.
Caramel
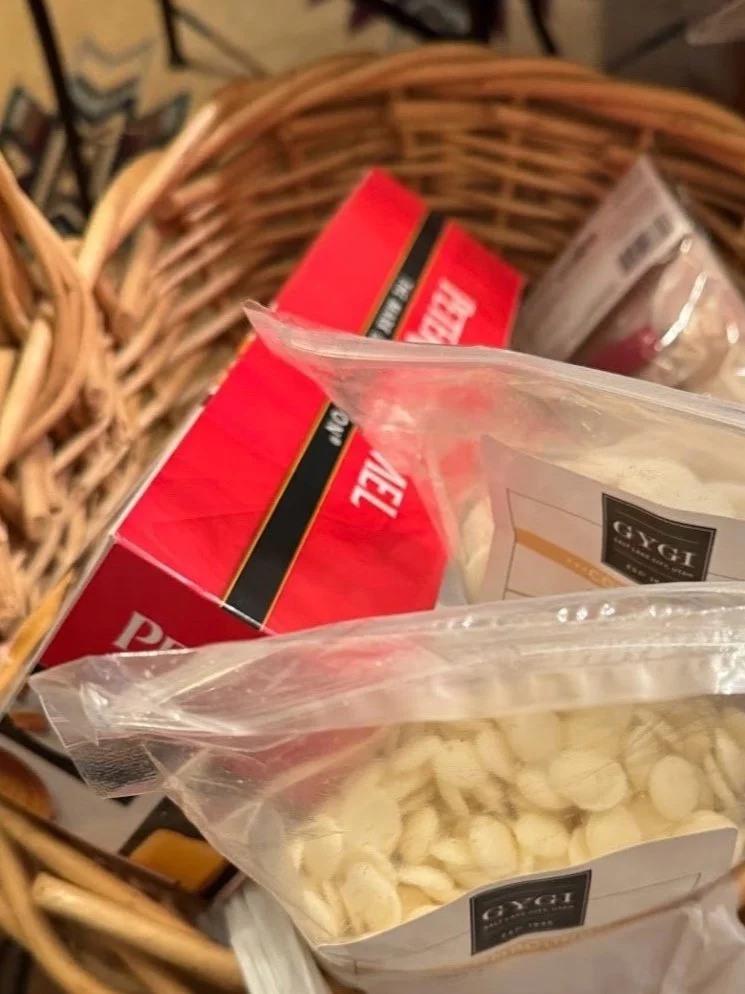
Prepping your caramel is an incredibly important step. In the past, I’ve made homemade caramel for coating pretzels but I wanted to try a simpler way with store-bought. I used Peter’s Caramel which worked out extremely well! Again, I got it from Gygi’s but you can find it other places including Amazon (https://www.amazon.com/s?k=peter%27s+caramel&hvadid=616863298728&hvdev=c&hvlocint=9029758&hvlocphy=9062329&hvnetw=g&hvqmt=e&hvrand=7563289269084323429&hvtargid=kwd-4568201021&hydadcr=24660_13611807&tag=googhydr-20&ref=pd_sl_90b8d2cixe_e).
I got the 5 lb block which only left me with a little leftover after making 15 caramel apples.
Prep Work
I found that the fool proof method for melting the caramel was putting it in the oven at 200 degrees F for 2 hours in a dutch oven (I used a dutch oven from Le Crueset https://www.lecreuset.com/traditional-round-wide-oven-6-3-4-qt-cerise/21052030060022.html and would recommend using a slight smaller one than I used like [example of other dutch oven]). If you’re in a hurry, this method probably isn’t for you, and you can use the microwave, just make sure you check what temperature your caramel should be at so it’s not too hot. If the caramel is too high a temperature it won’t stick to the apple.
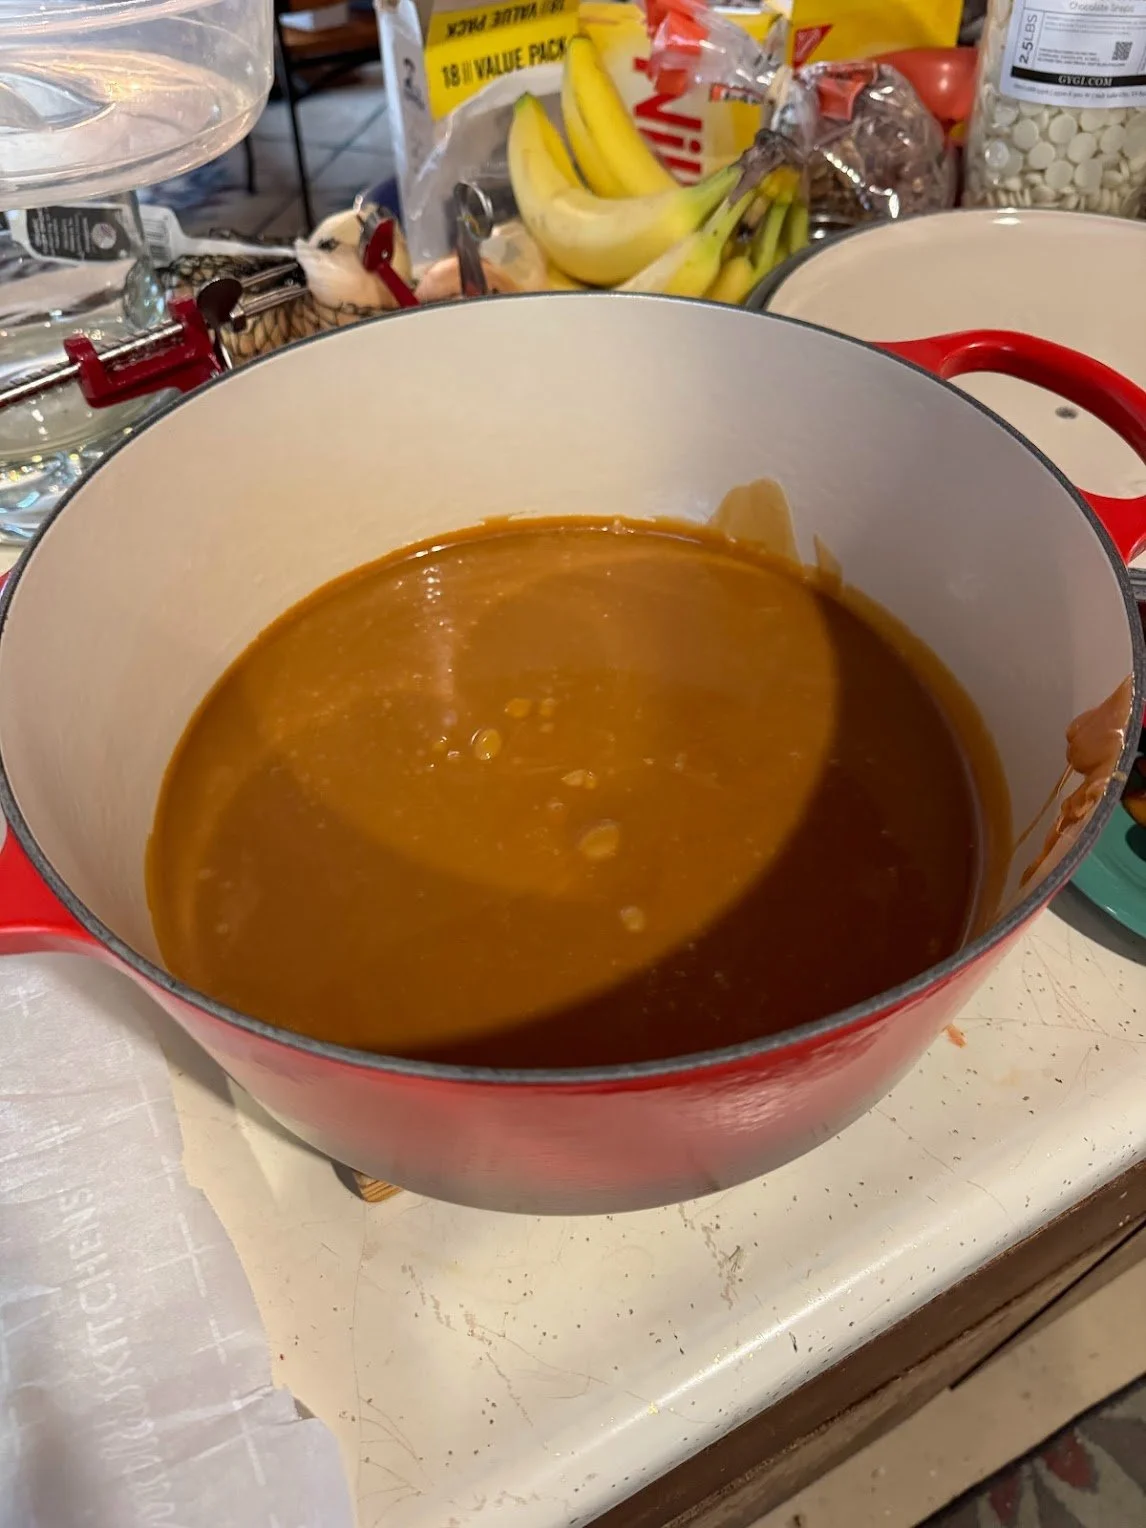
If you have the time to let your caramel melt for two hours, it works beautifully, and I was able to prep my apples and workstation and then finish some work.
When the caramel is finished there will be a sight film on the top. Don’t worry about it, just stir the caramel in to incorporate making sure not too stir too much. If you stir too much you’ll end up with more air bubbles on your caramel apples.
Remove your apples, insert the sticks, then dip them in the caramel. You can cover them all the way to the stem or leave some apple peeking through. Personally, I like leaving some apple to peek through.

To help you cover the apples, use a spoon or spatula to spoon the caramel onto the apple. Once covered, lift the apples out and let the caramel drip off, using a spatula or butter knife to help you remove excess caramel. Once excess caramel is off, turn the apple upside down for 45-50 seconds to let it harden a little. Then place on a parchment covered cookie sheet. Repeat the process until all your apples are covered.


Then stick the apples in a cool place to harden. If you want, you can place them in the fridge or put in the freezer for a very short time to help get the caramel to harden faster. I found my caramel set up really well and quickly and I placed the apples in the freezer for about 1-2 minutes then placed them in a cool part of the kitchen.
Tip: The caramel in my dutch oven started hardening up when it had been out for a little bit and became harder to coat the apples in the longer it sat out. I just put it back in the oven at 200 degrees F to melt it down a little and it worked great.
If you just want a caramel covered apple, feel free to stop here! You’ll have a delicious treat. If, however, you want to make a specialty caramel apple, add more layers. My personal favorite is the combination of the white chocolate and cinnamon sugar.
Tempering Chocolate
If you’re going to continue the whole way, temper the chocolate while letting the caramel set. Now my failure to temper my chocolate in the past is where I’ve run into all my problems. I never tempered my chocolate. And my chocolate caramel covered pretzels would set up in the fridge or freezer but not before most of my toppings (including my caramel and chocolate) had melted off.
What does it mean to temper chocolate you may be asking? Tempering chocolate is the process of heating chocolate up to a certain temperature and then cooling it down to a certain temperature. The process creates a chocolate that is more stable and will form a hard shell at room temperature. This means that if you temper your chocolate for your caramel apples, then the chocolate should form a hard shell without you having to cool it in a fridge or freezer.
Tempering chocolate is not too difficult. It’s just something that takes a thermometer and focus. I used this instant read thermometer off Amazon that worked really well, is magnetic, and battery operated. (https://www.amazon.com/ThermoPro-TP03H-Waterproof-Thermometer-Instant/dp/B07Y51PCW7?pd_rd_w=OxilE&content-id=amzn1.sym.16b389cf-68c1-4ee8-9417-1a50799b2607&pf_rd_p=16b389cf-68c1-4ee8-9417-1a50799b2607&pf_rd_r=Y9ECZ6VGF12TEVVHRRE3&pd_rd_wg=u20fq&pd_rd_r=b5c367df-0555-46da-9702-f25b260945aa&pd_rd_i=B07Y51PCW7&psc=1&ref_=pd_bap_d_grid_rp_0_1_ec_t)
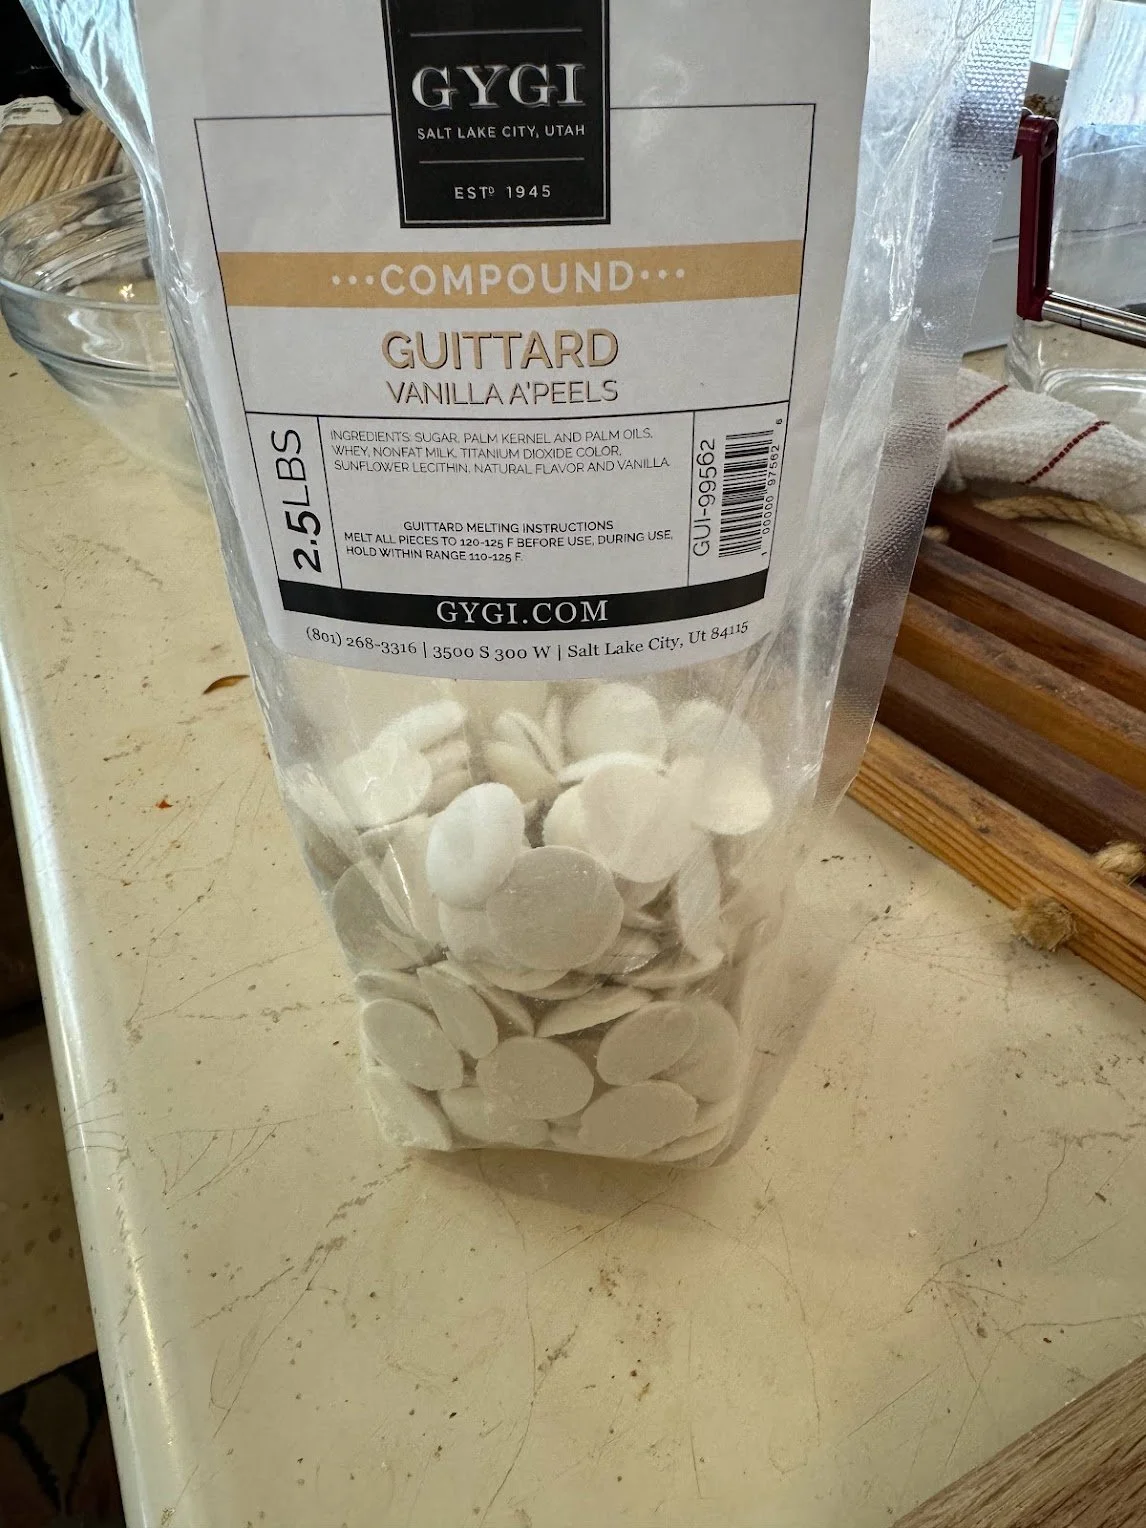
For white chocolate the melting point is lower than milk or dark chocolate. For white chocolate, you’ll want to melt your white chocolate to 110 degrees F (and no higher!) and then take it off to cool. I used Guittard “Vanilla A’Peels” white chocolate which was divine! I also got that from Gygi’s. [LINK] [but you can find it …]
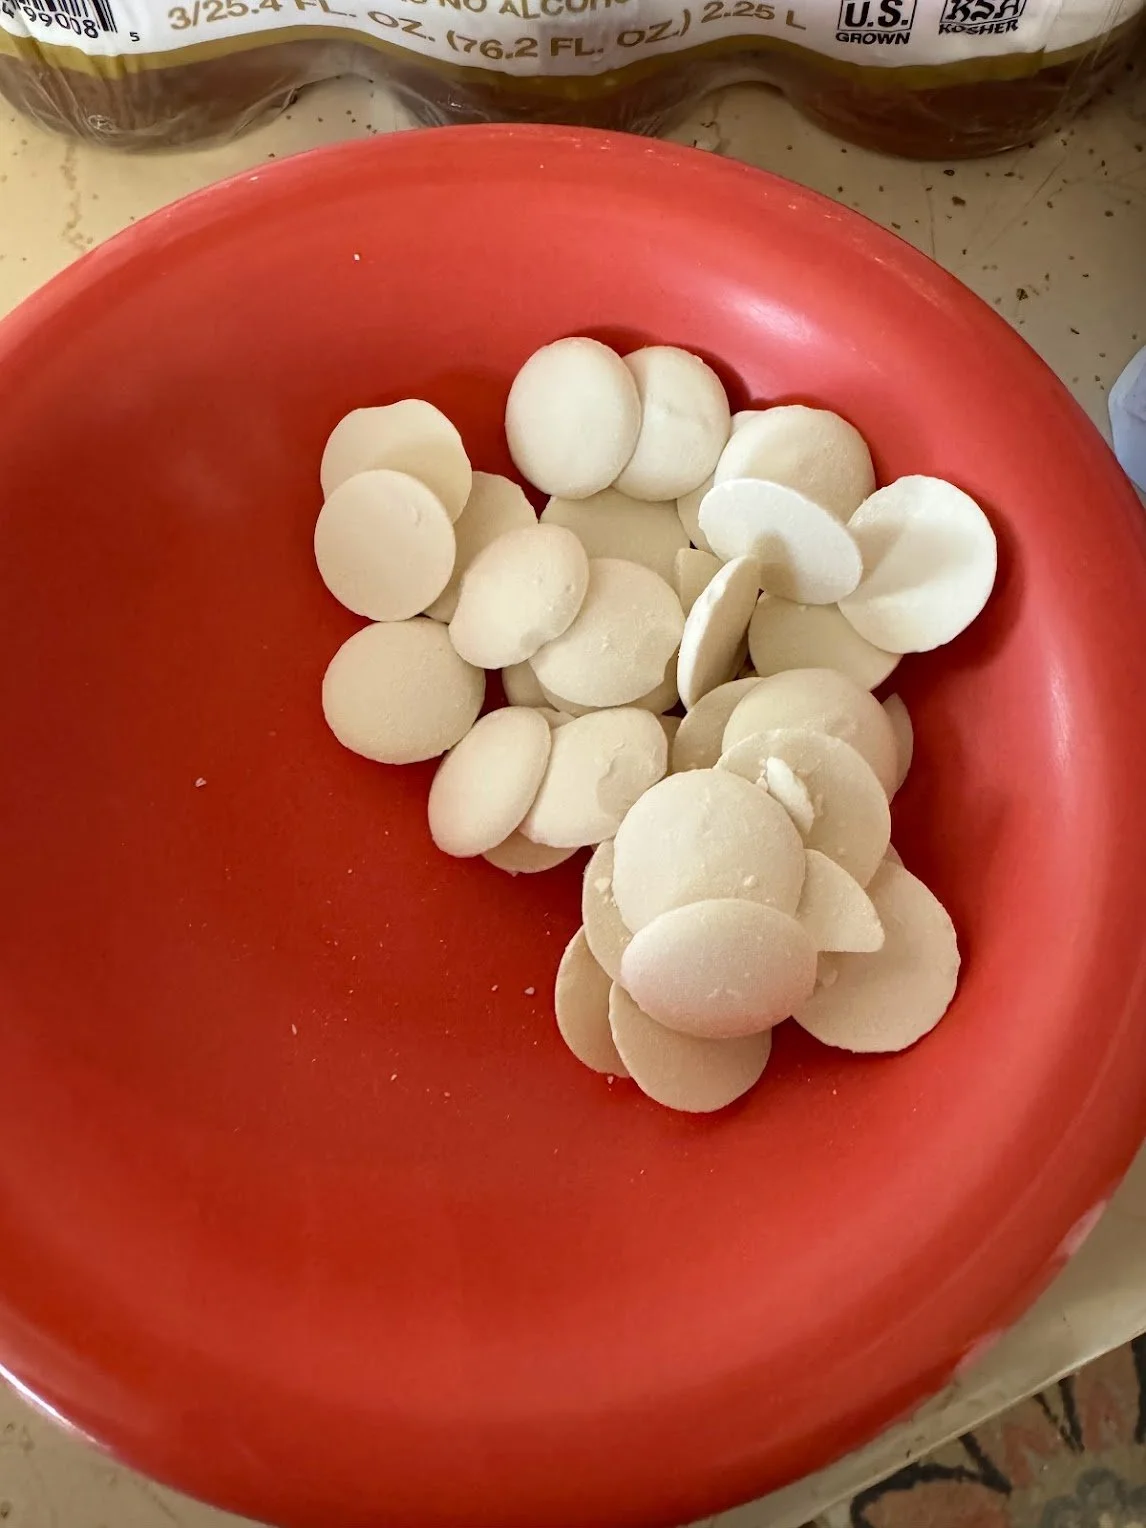
For tempering, it is nice to have your chocolate pieces all similar sizes so they melt at about the same time. For my first batch I chopped the circles of chocolate into small, even sized chocolate bits. However, I found this to be unnecessary since the Guittard chocolate already came in circles that are almost exactly the same size.
For 15 apples of medium size, I used about 3/4ths of the chocolate Guittard bag. Figure out the total amount of white chocolate you want melted and reserve a quarter of it. The other three quarters you’ll put in a glass bowl. Fill a stockpot a third full with water.
Make sure your stockpot and glass bowl you use fit well together. What you want is for your glass bowl to not be touching the water in the pot so you don’t want the pot to be too wide for the glass bowl.
Place the pot on a burner and turn the burner to low (I had mine at about 2). Let the water come to a simmer and place your glass bowl with the three quarters of chocolate on top. You will be stirring your chocolate frequently as it melts.
Once the chocolate starts melting, check the temperature frequently. Once the temperature is 88 degrees F, remove the bowl from the pot (while continuing to stir) every once in a while. This helps the chocolate to continue to melt evenly while making sure the temperature doesn’t rise too quickly. When all the chocolate is close to being melted, make sure to check the temperature frequently. It can heat up quickly so you’ll want to make sure it doesn’t go over 110 degrees F.
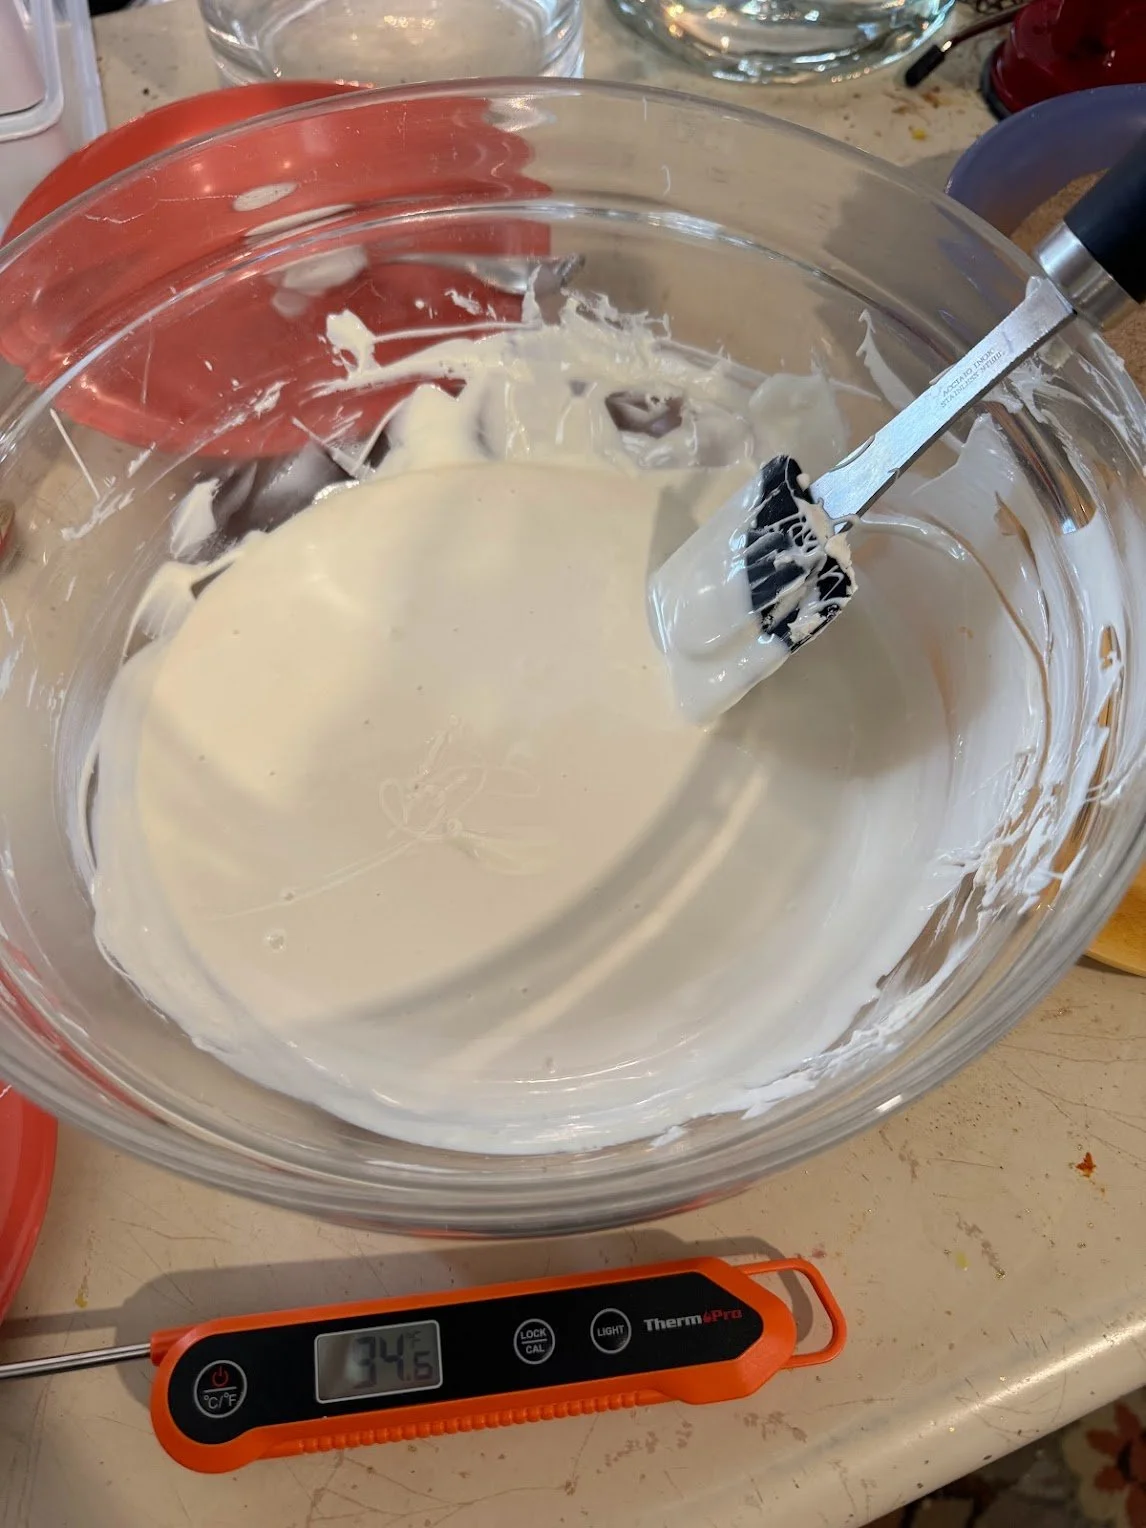
As soon as it reaches 110 degrees F, remove the bowl and place it on the counter away from the heat. Add in the reserve quarter of chocolate from earlier and stir in. This helps cool the chocolate.
When you reach below 78 degrees F, your chocolate will quickly form a hard shell. Because you’re dipping caramel apples in the white chocolate, you want to make sure you have time to use the white chocolate before it hardens. Because of this I recommend starting to dip your apples once the chocolate reaches around 88-90 degrees F.
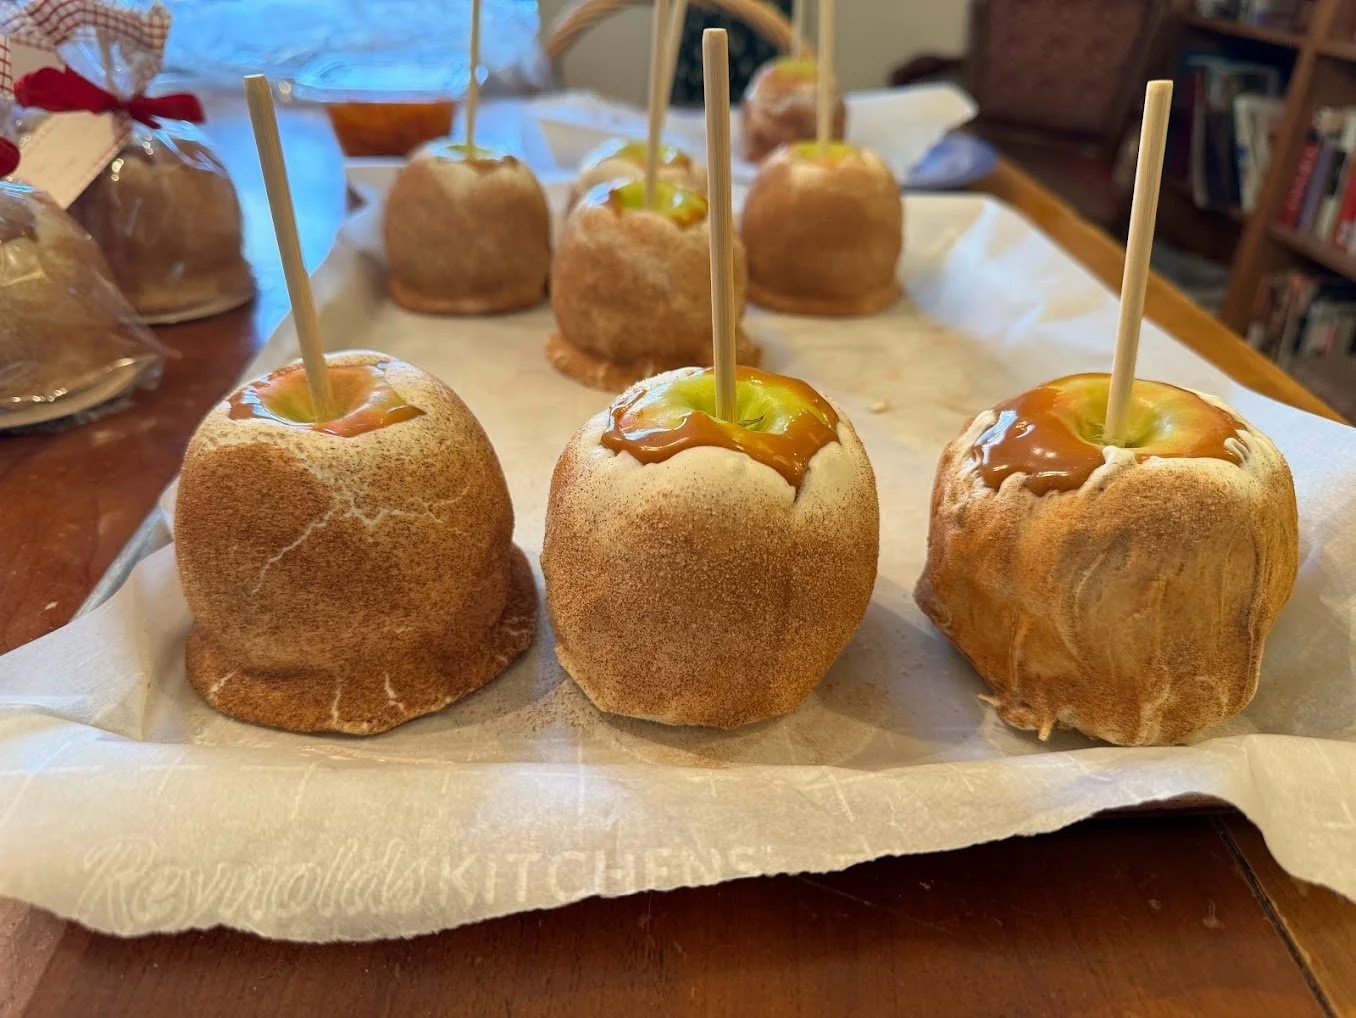
In my second batch of melting chocolate, the temperature jumped quickly from 110 degrees F to 112 degrees F before I took it off. This batch of white chocolate still set up on the caramel apples but took longer and cracked and slid on my apples first.
You can see in the picture below the differences between the caramel apples and how important it is to use tempered chocolate and at the right temperature. The apple on the left is the batch that went above the 110 degrees F and didn’t temper correctly. You can see how the chocolate cracked. The caramel apple on the right was from the tempered chocolate batch (the first one) but was dipped when the chocolate had cooled below 78 degrees F and the chocolate hardened so quickly that only the cinnamon in the cinnamon sugar stuck. In addition, the chocolate didn’t coat the apple evenly. The middle one is the caramel apple that was with the perfectly tempered chocolate above the 78 degree F mark.
Tip: the most helpful things I did in tempering the chocolate and adding it to the caramel apples were 1) making sure I took the chocolate off the pot of steaming water every once in awhile once the chocolate was over 88 degrees F and 2) dipping the caramel apples into the chocolate once it had cooled to about 93 degrees F.
Cinnamon Sugar
I love the cinnamon sugar topping and ended up using it and some extra chocolate I had to make little circle cinnamon sugar white chocolate candies.
While waiting for your caramel apples to harden or while waiting for the caramel to melt, mix the cinnamon and sugar together in a bowl. Keep the spoon you mix with and grab an extra bowl. You’ll use both.
Once the caramel apples are hardened and the chocolate has been melted to 110 degrees F, set up the station with your white chocolate.
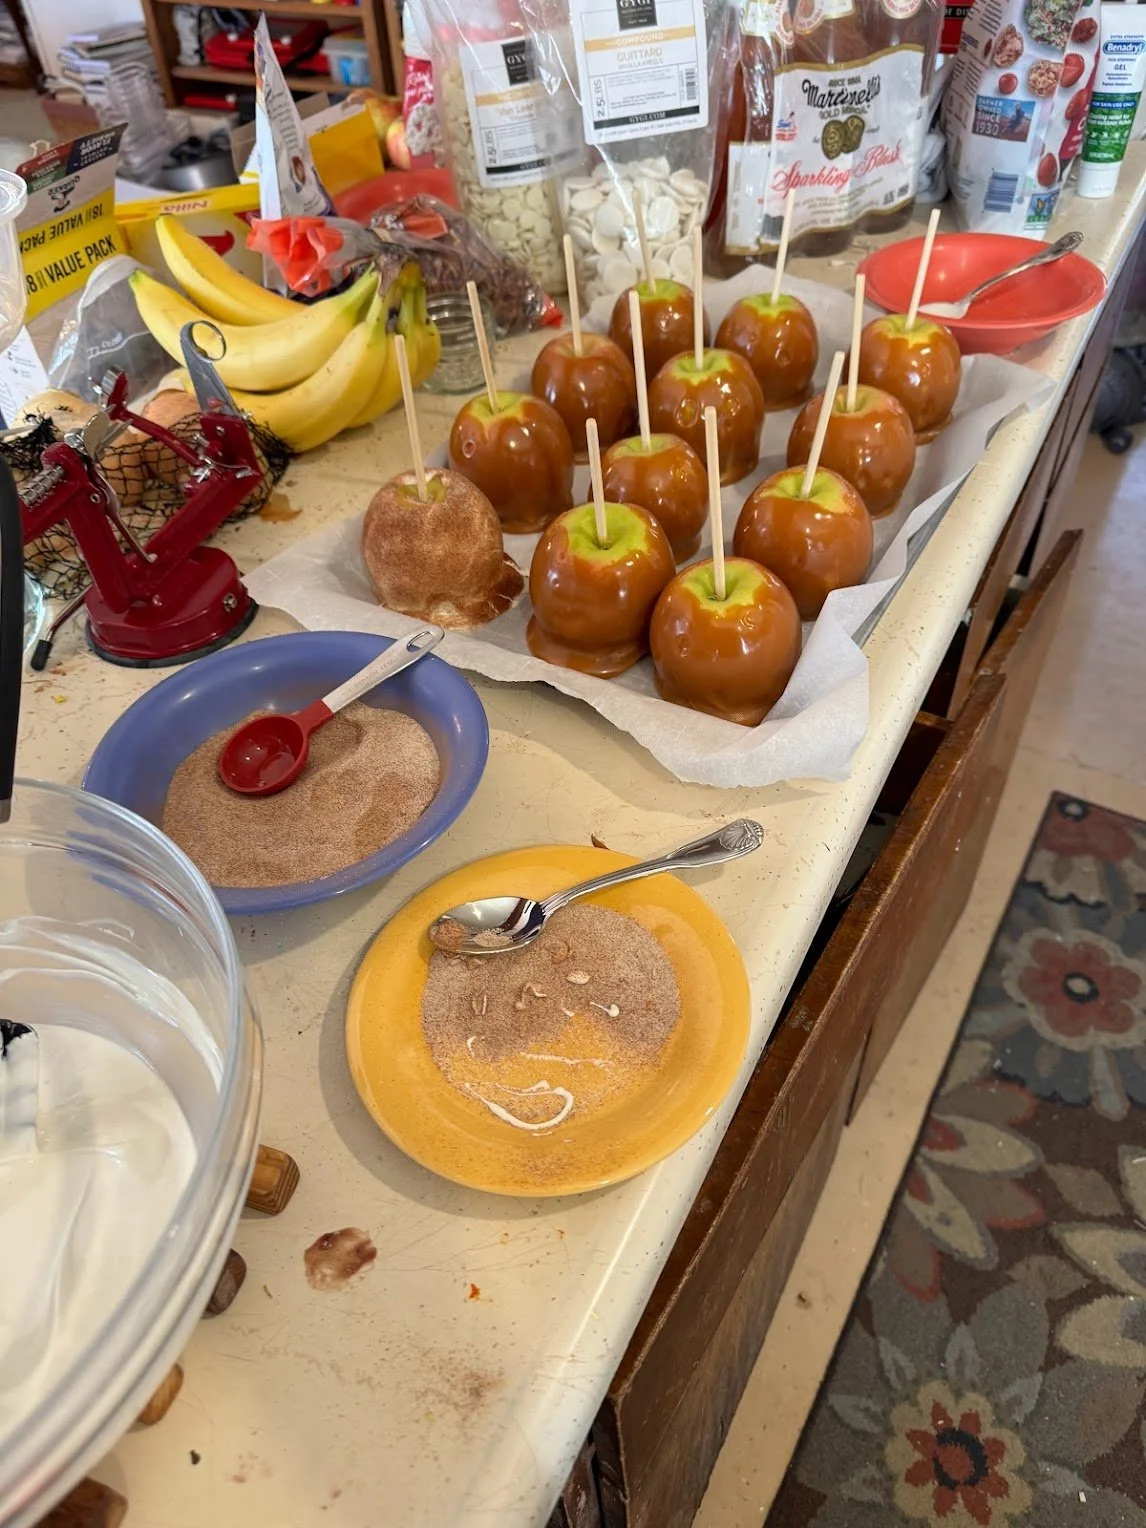
Once you dip the caramel apple in the white chocolate (I used a spoon to help cover my caramel apple with the chocolate just like I did with the caramel), let the caramel apple drip the excess white chocolate off. You may need to remove some with a butter knife or spatula. I also twirled the apple to get spots of white chocolate off.
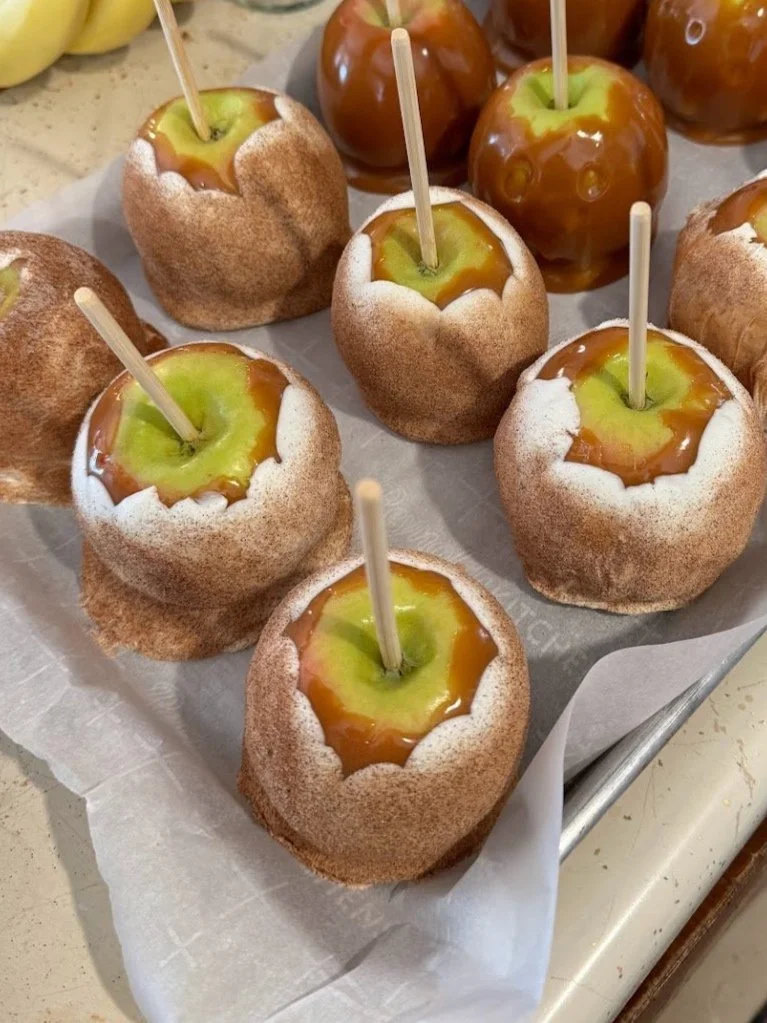
Holding the caramel apple over the extra bowl you grabbed earlier, sprinkle cinnamon sugar over the apple, turning as you apply it, until all sides are covered. I also applied the cinnamon sugar to the bottom of the caramel apple.
Place the cinnamon sugar, white chocolate covered caramel apples back on the parchment paper lined cookie sheet and repeat. When all caramel apples are complete, set in a cool spot in the kitchen to harden.
Note: If you tempered your white chocolate to the correct 110 degrees F, then the white chocolate will set up pretty quickly at room temperature.